> ## Documentation Index
> Fetch the complete documentation index at: https://hilos-40.mintlify.site/llms.txt
> Use this file to discover all available pages before exploring further.
# Create Your First Support Chatbot
Creating a support chatbot can significantly enhance your customer service by providing immediate responses and efficiently routing queries to the appropriate support agents. This guide will walk you through the steps to create an inbound flow that triggers with any message and includes a simple structure with a message and an assignation step.
## Step-by-Step Guide to Creating Your First Support Chatbot
Create a new flow
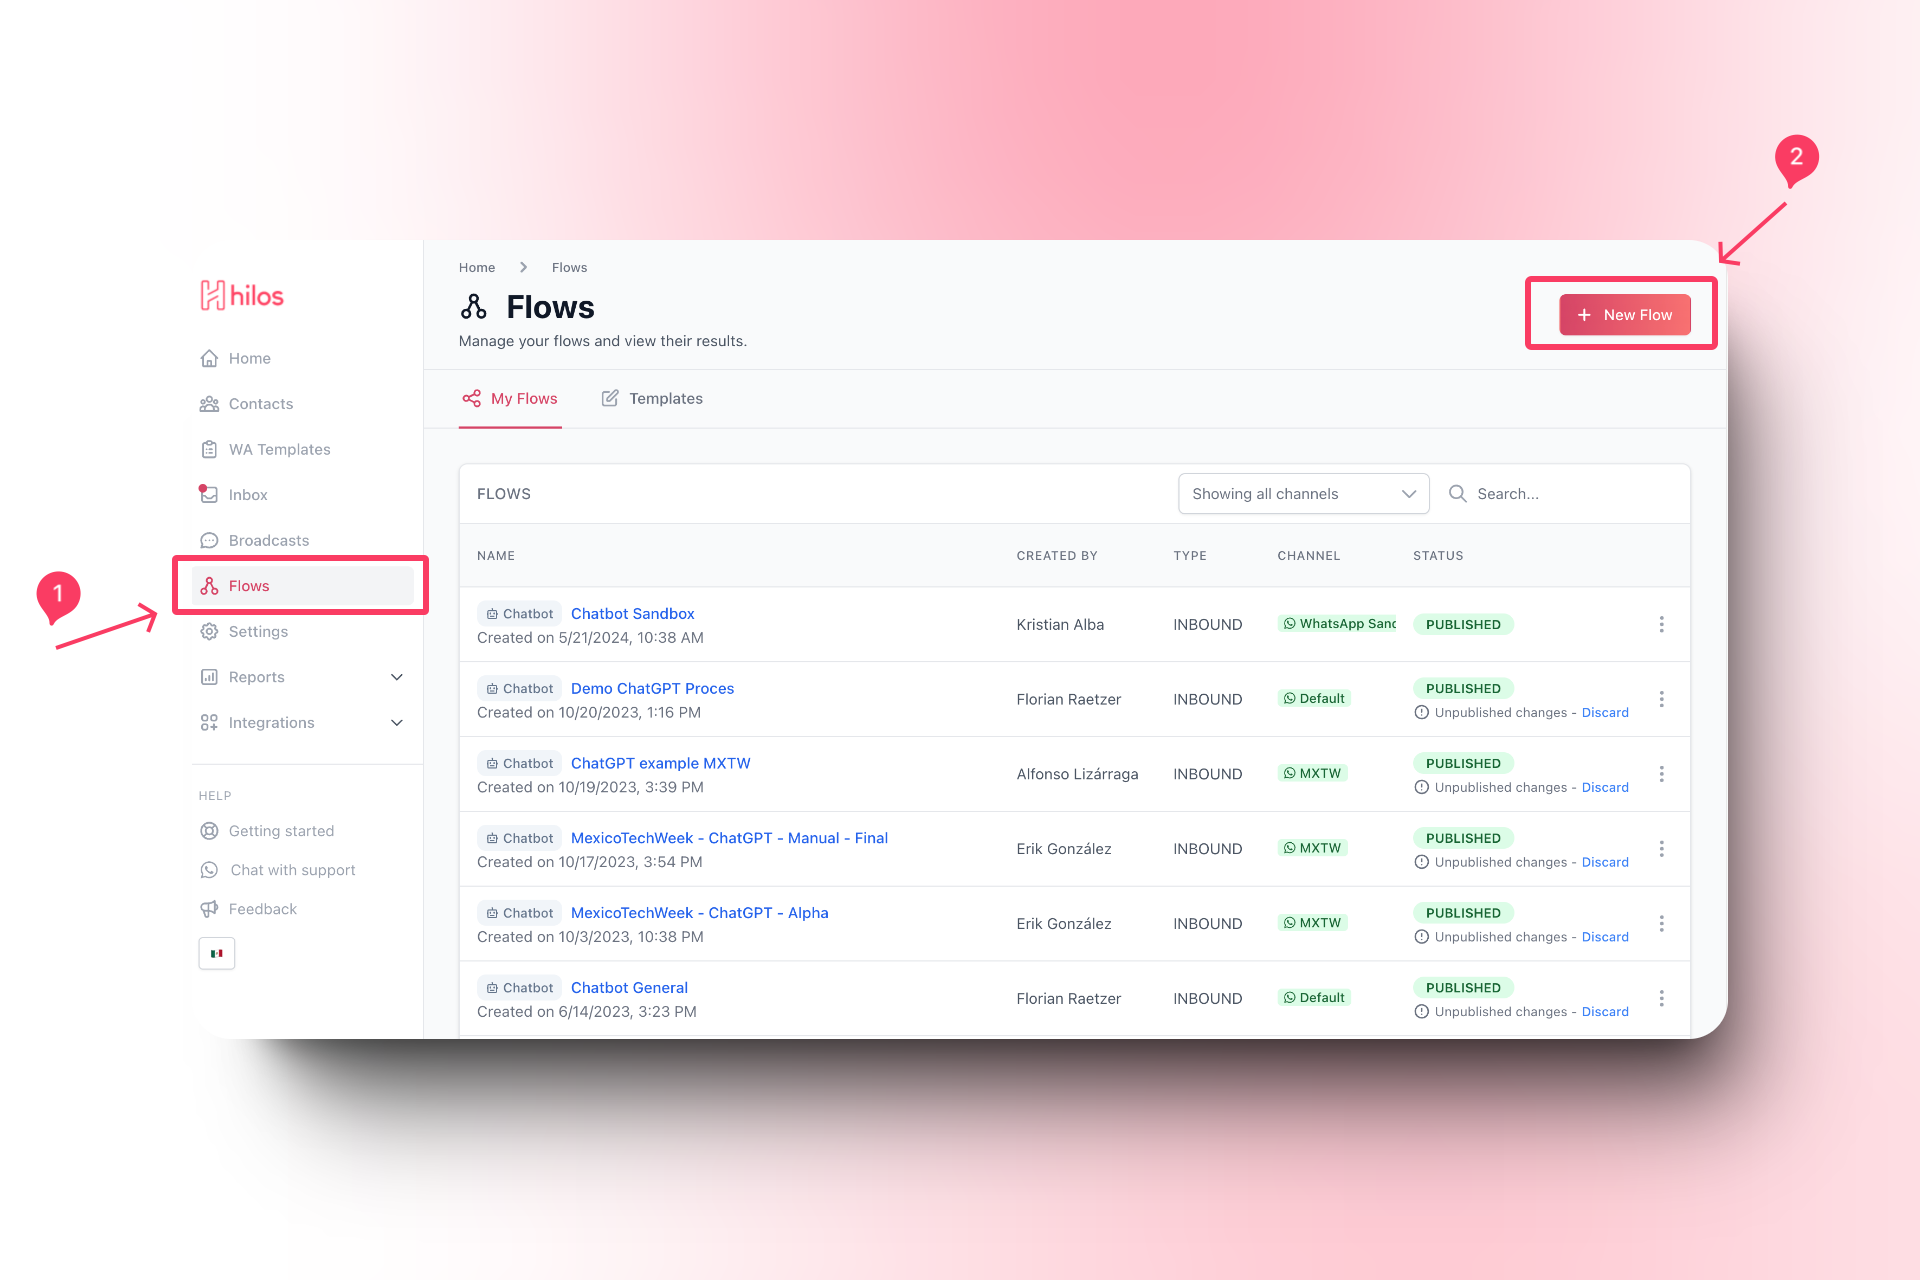
* Go to [Flows](https://app.hilos.io/flow) in your Hilos account.
* Click on `+ Flow Editor` to create a new flow.
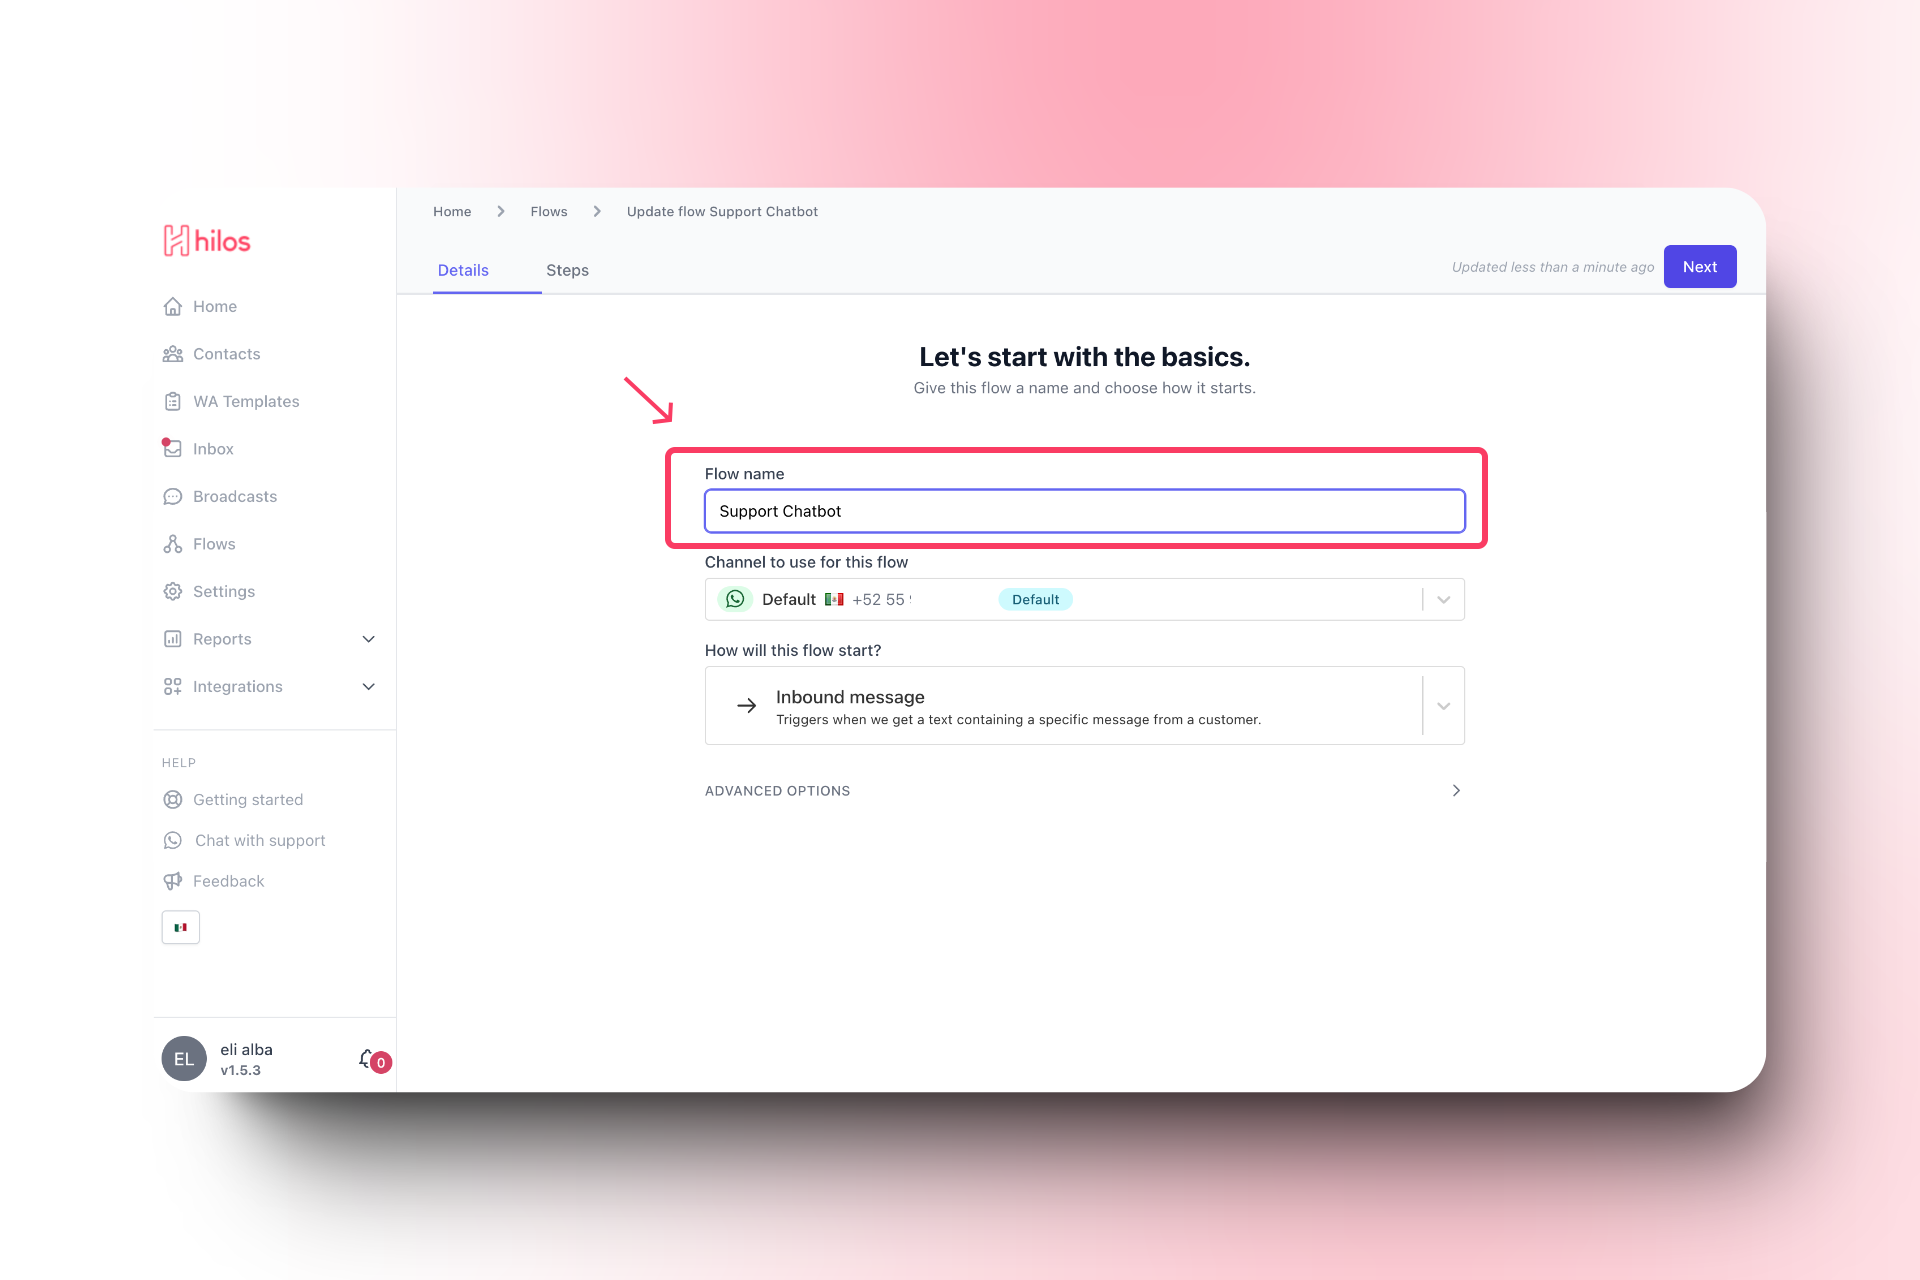
* Give your flow a name that reflects its purpose, such as "Support Chatbot".
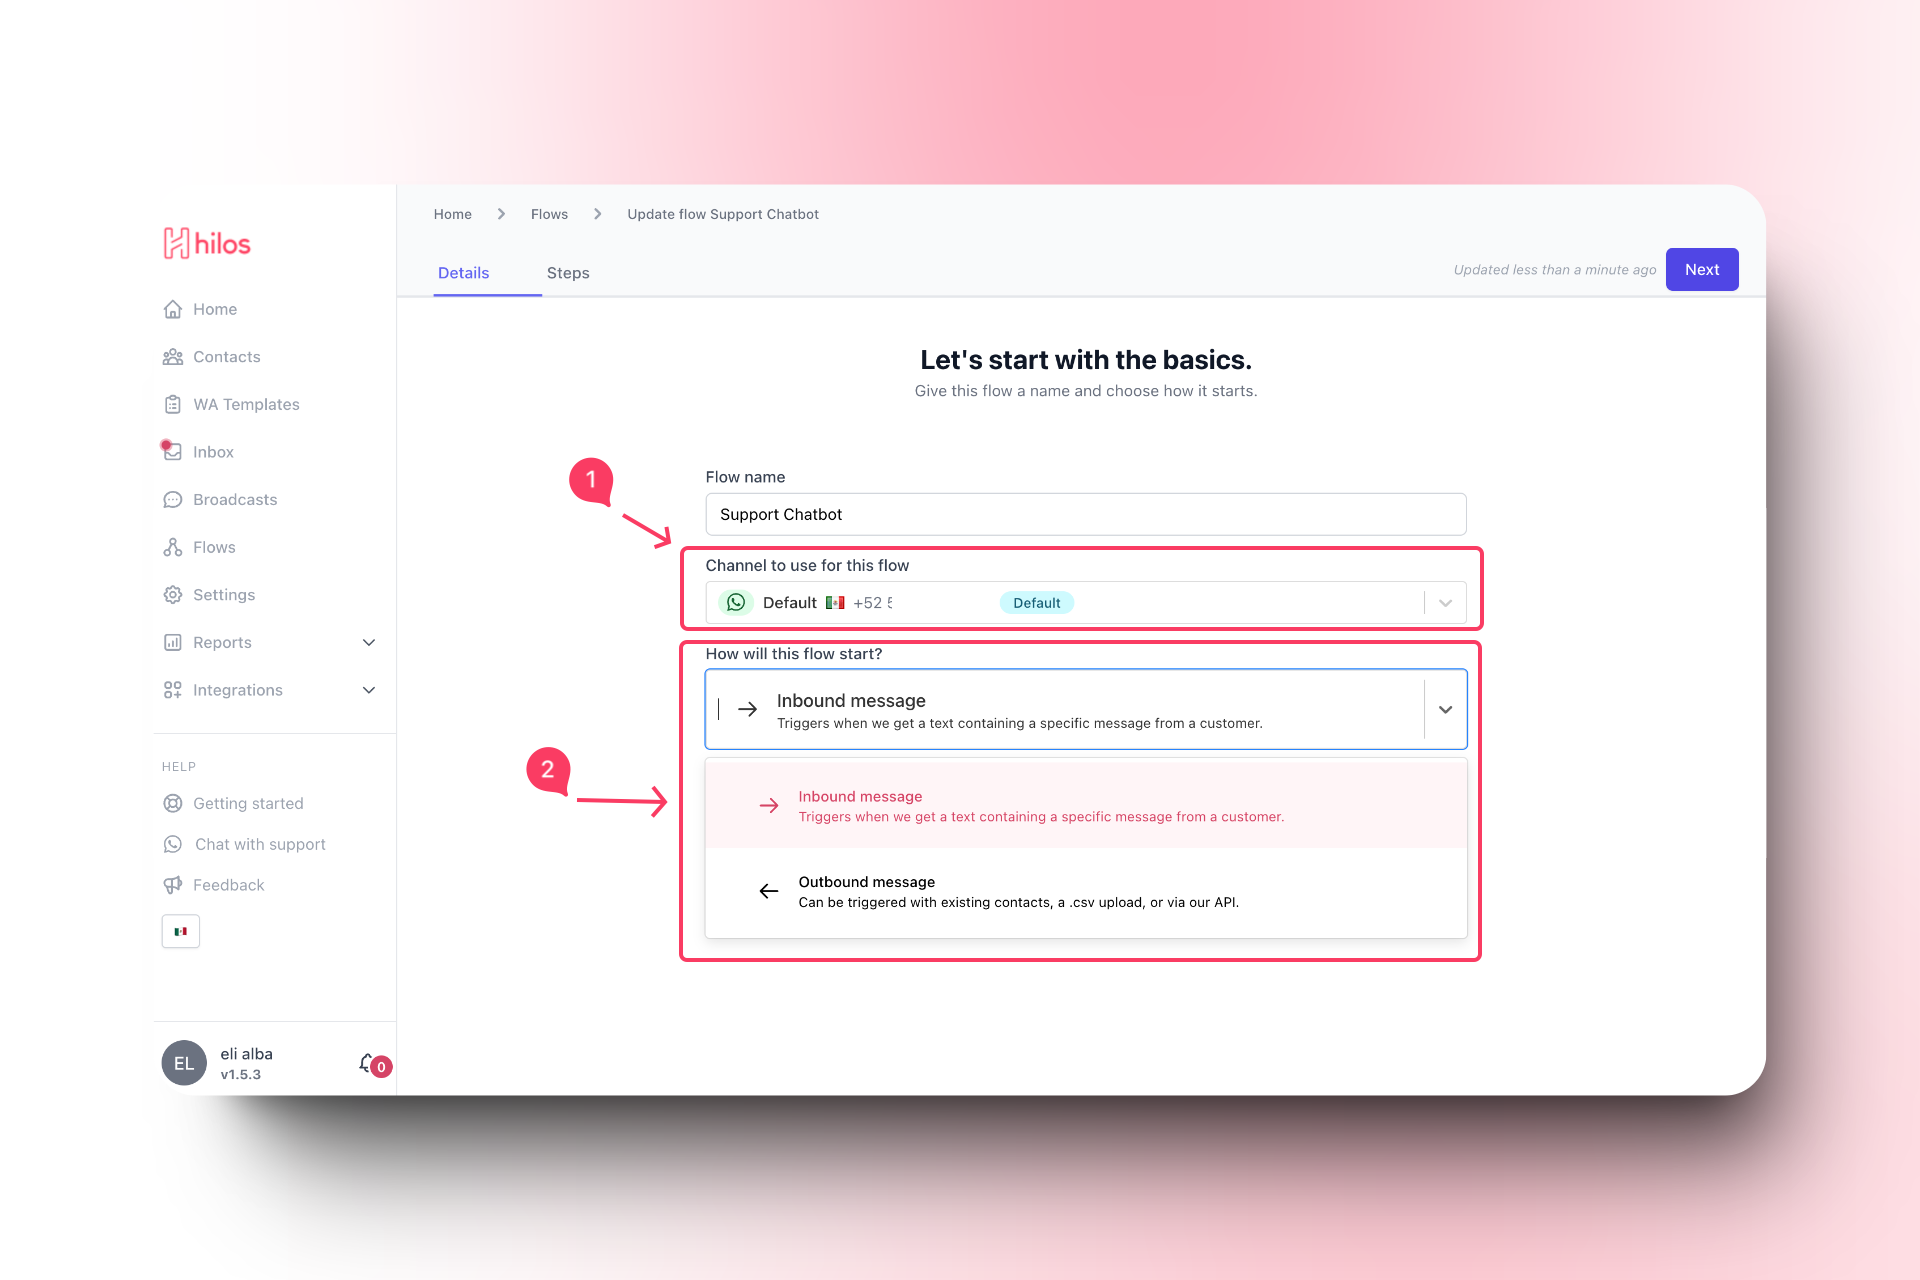
* Choose the appropriate channel if you have more than one channel.
* Select "Inbound" as the flow type.
To add a message step:
* Click on the `+` button to add a new step.
* Select "Message" from the list of step types.

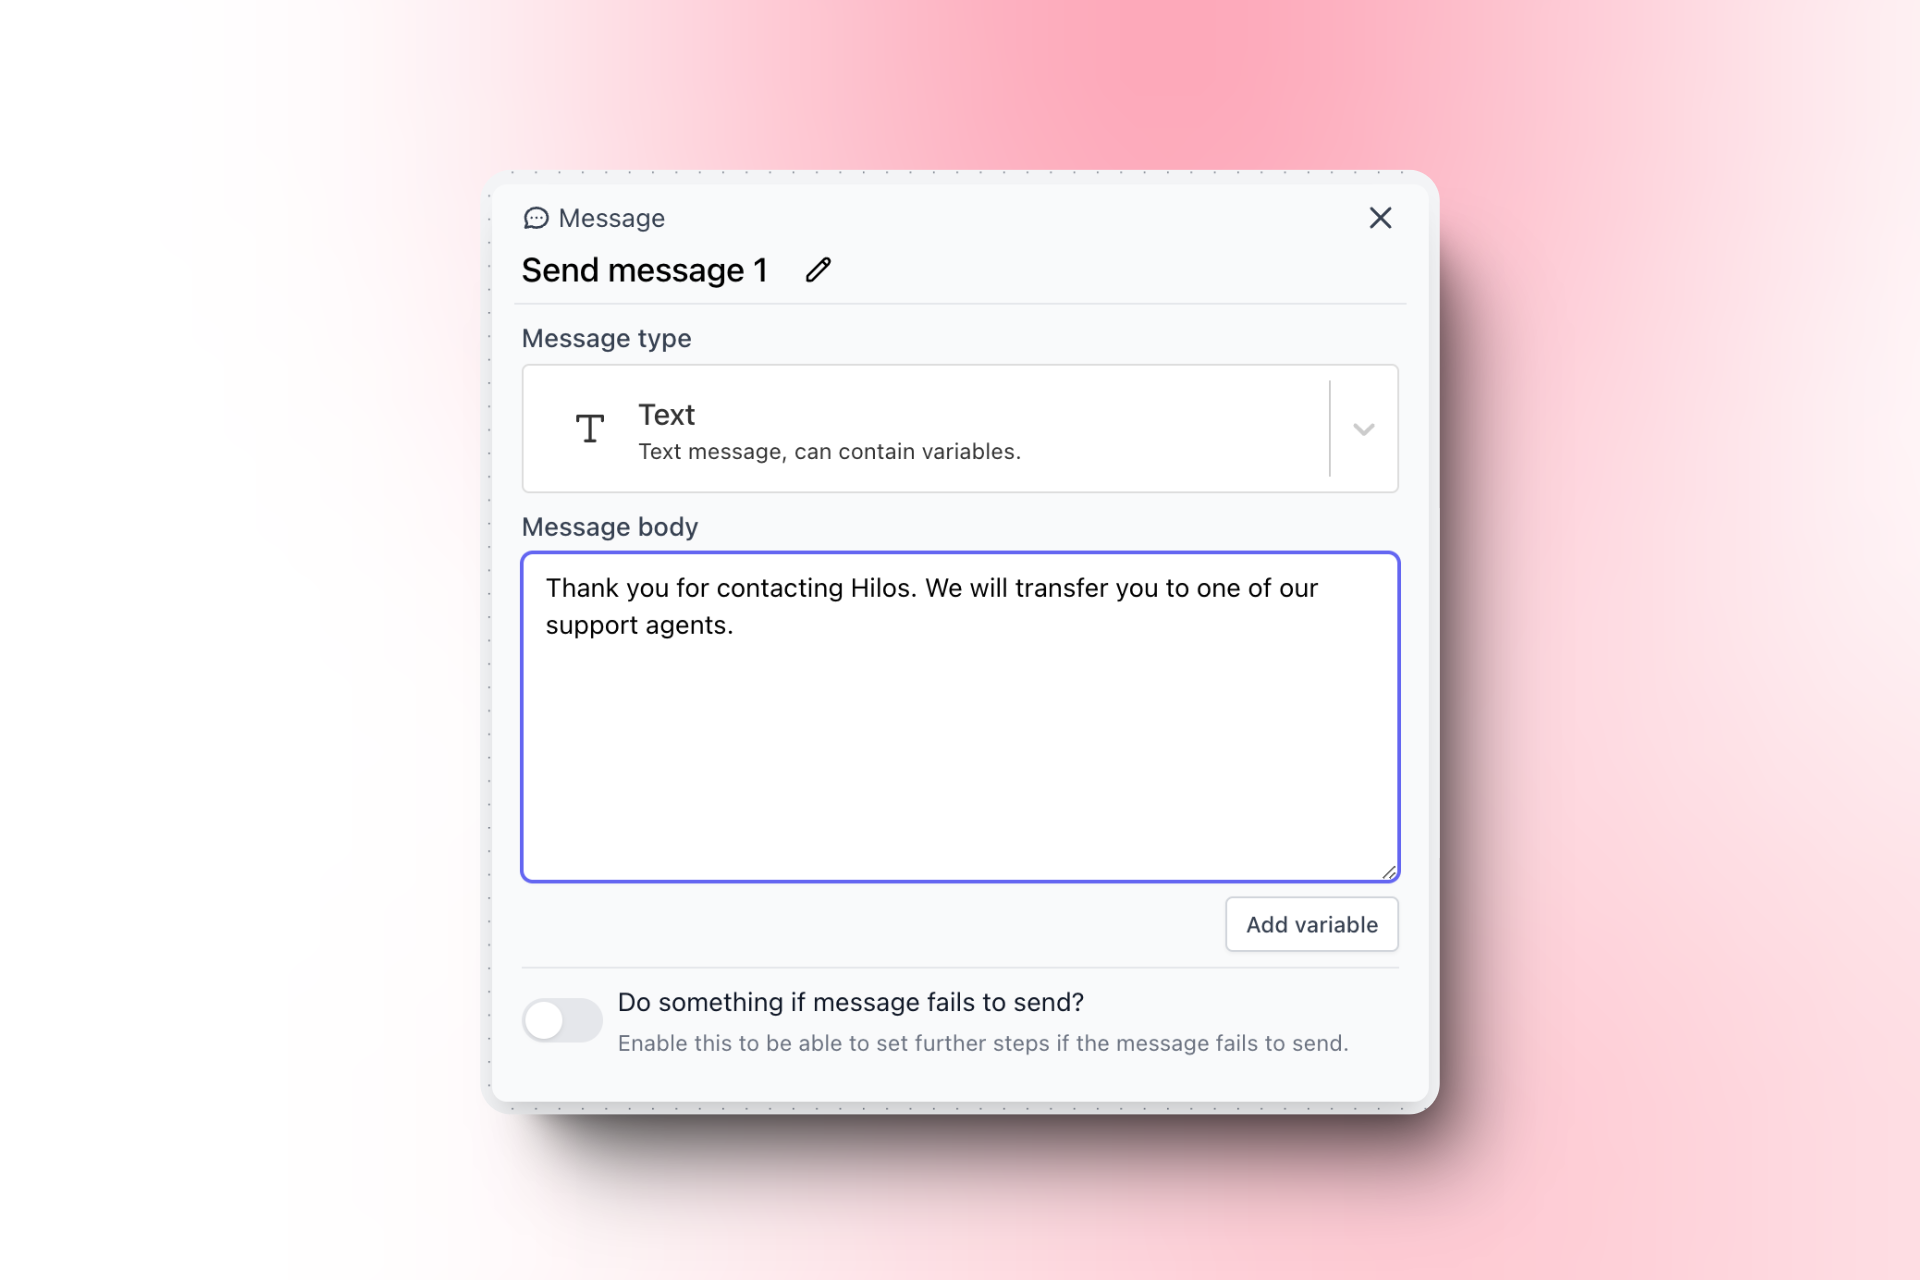
* In the message configuration, enter the text you want to send to the user. For example:
"Thank you for contacting Hilos. We will transfer you to one of our support agents.""
To automatically assign your chats:
* Click on the `+` button to add another step.
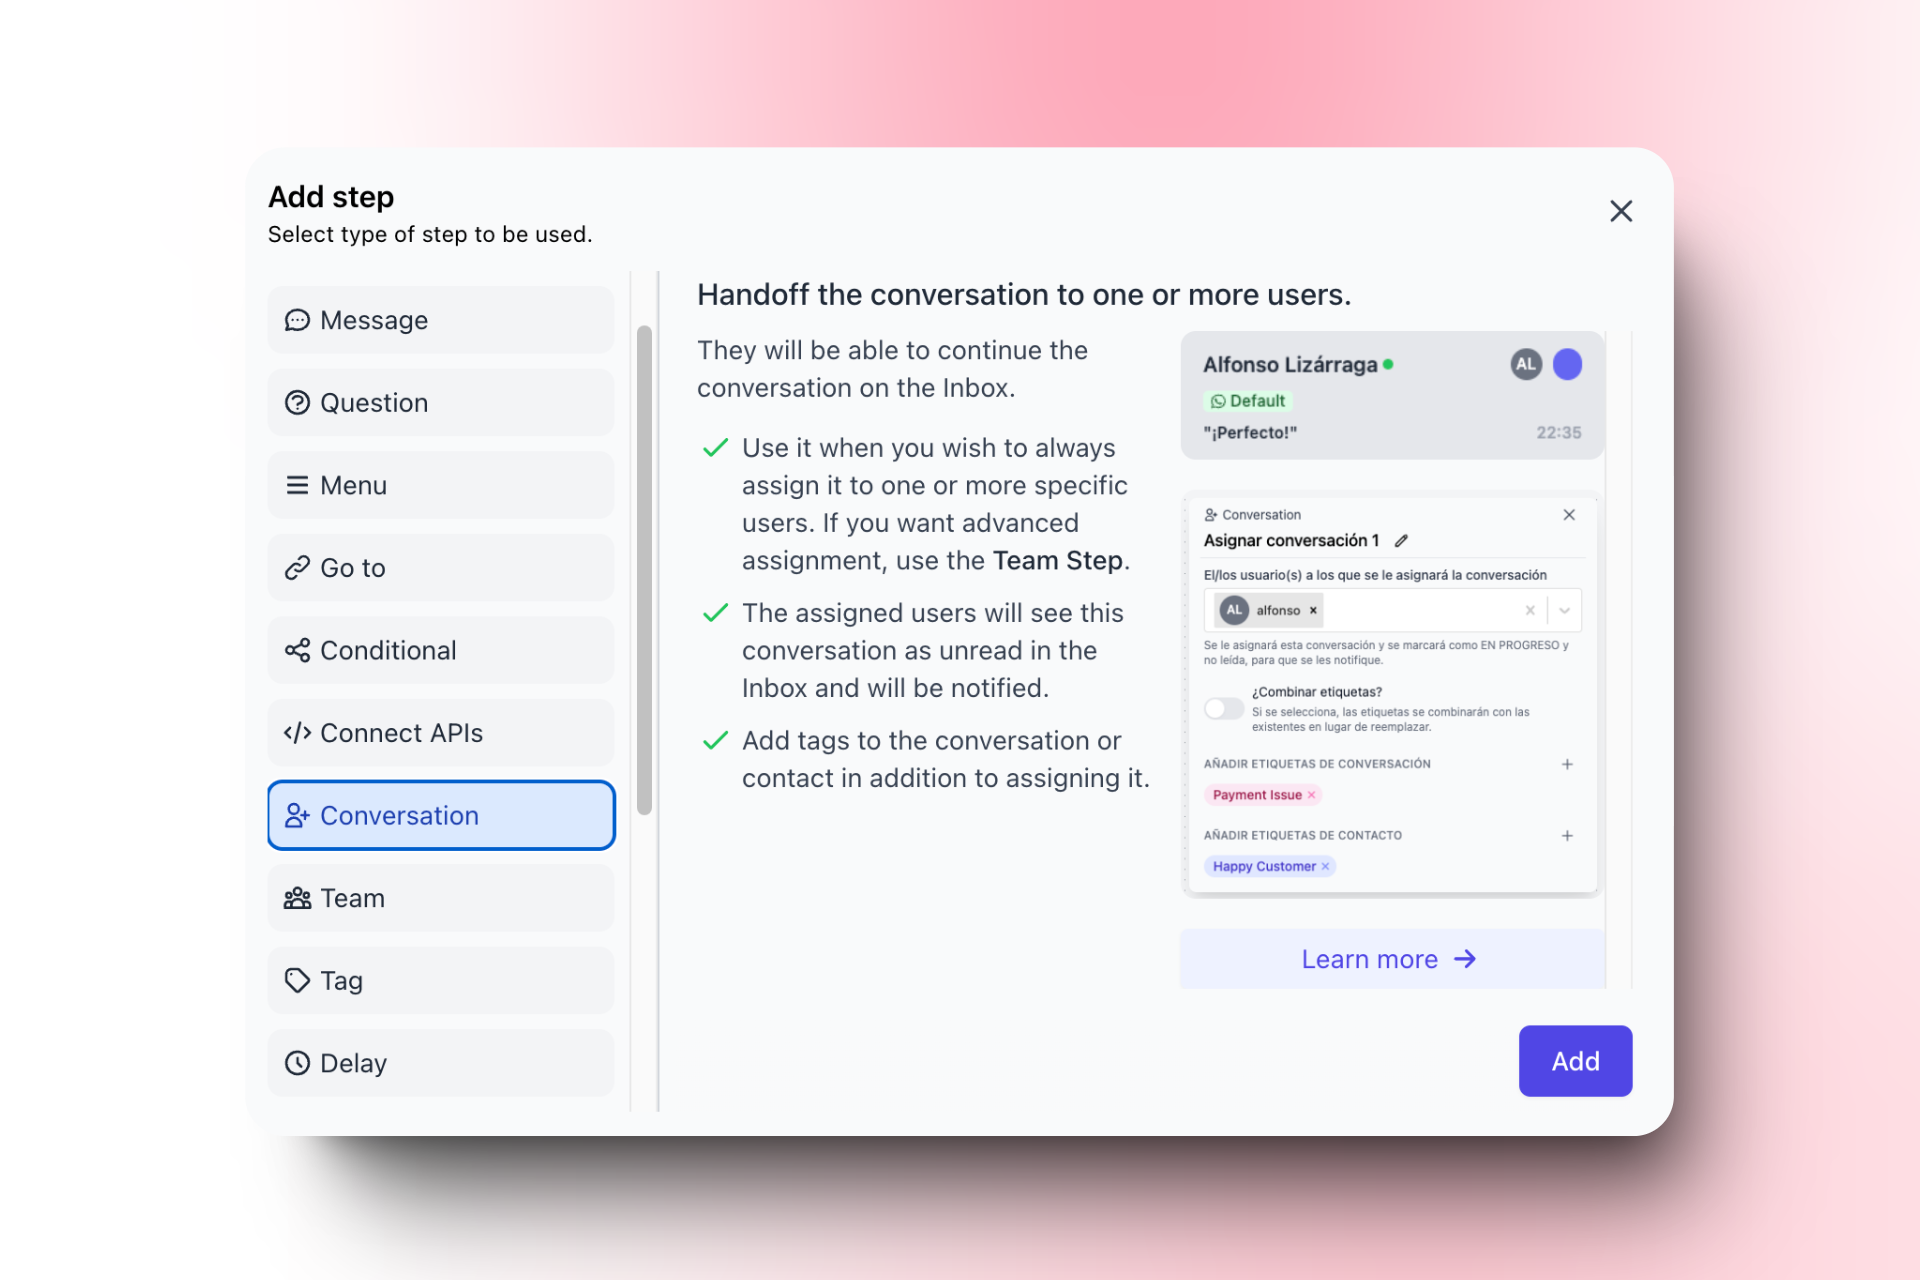
* Select "Assign Team" from the list of step types.
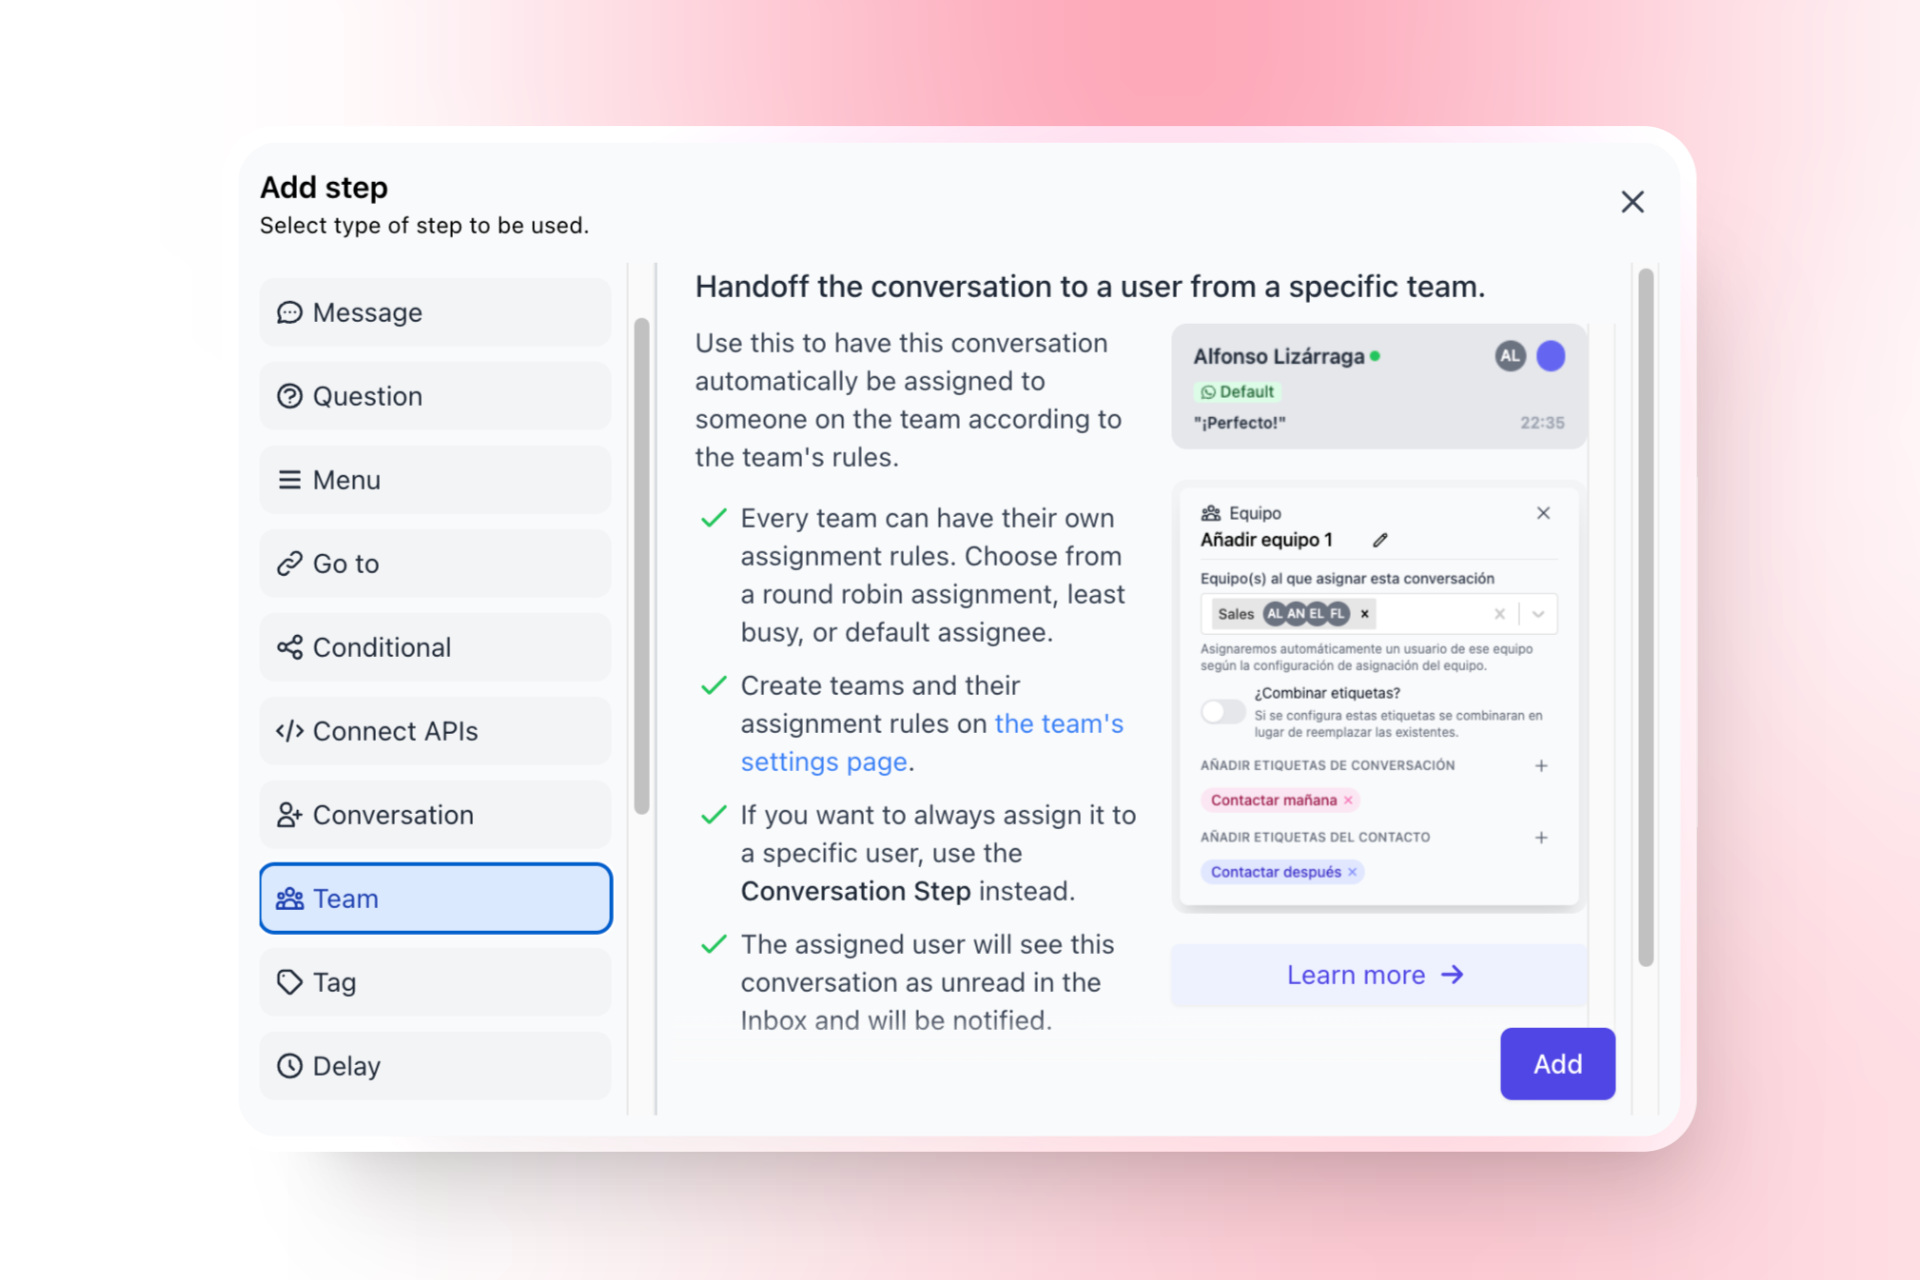
* Choose the support agent to which you want to assign the conversation.
* In the next guide "How to Create a Chatbot that Automatically Recognizes Your Clients" you learn about creating teams.
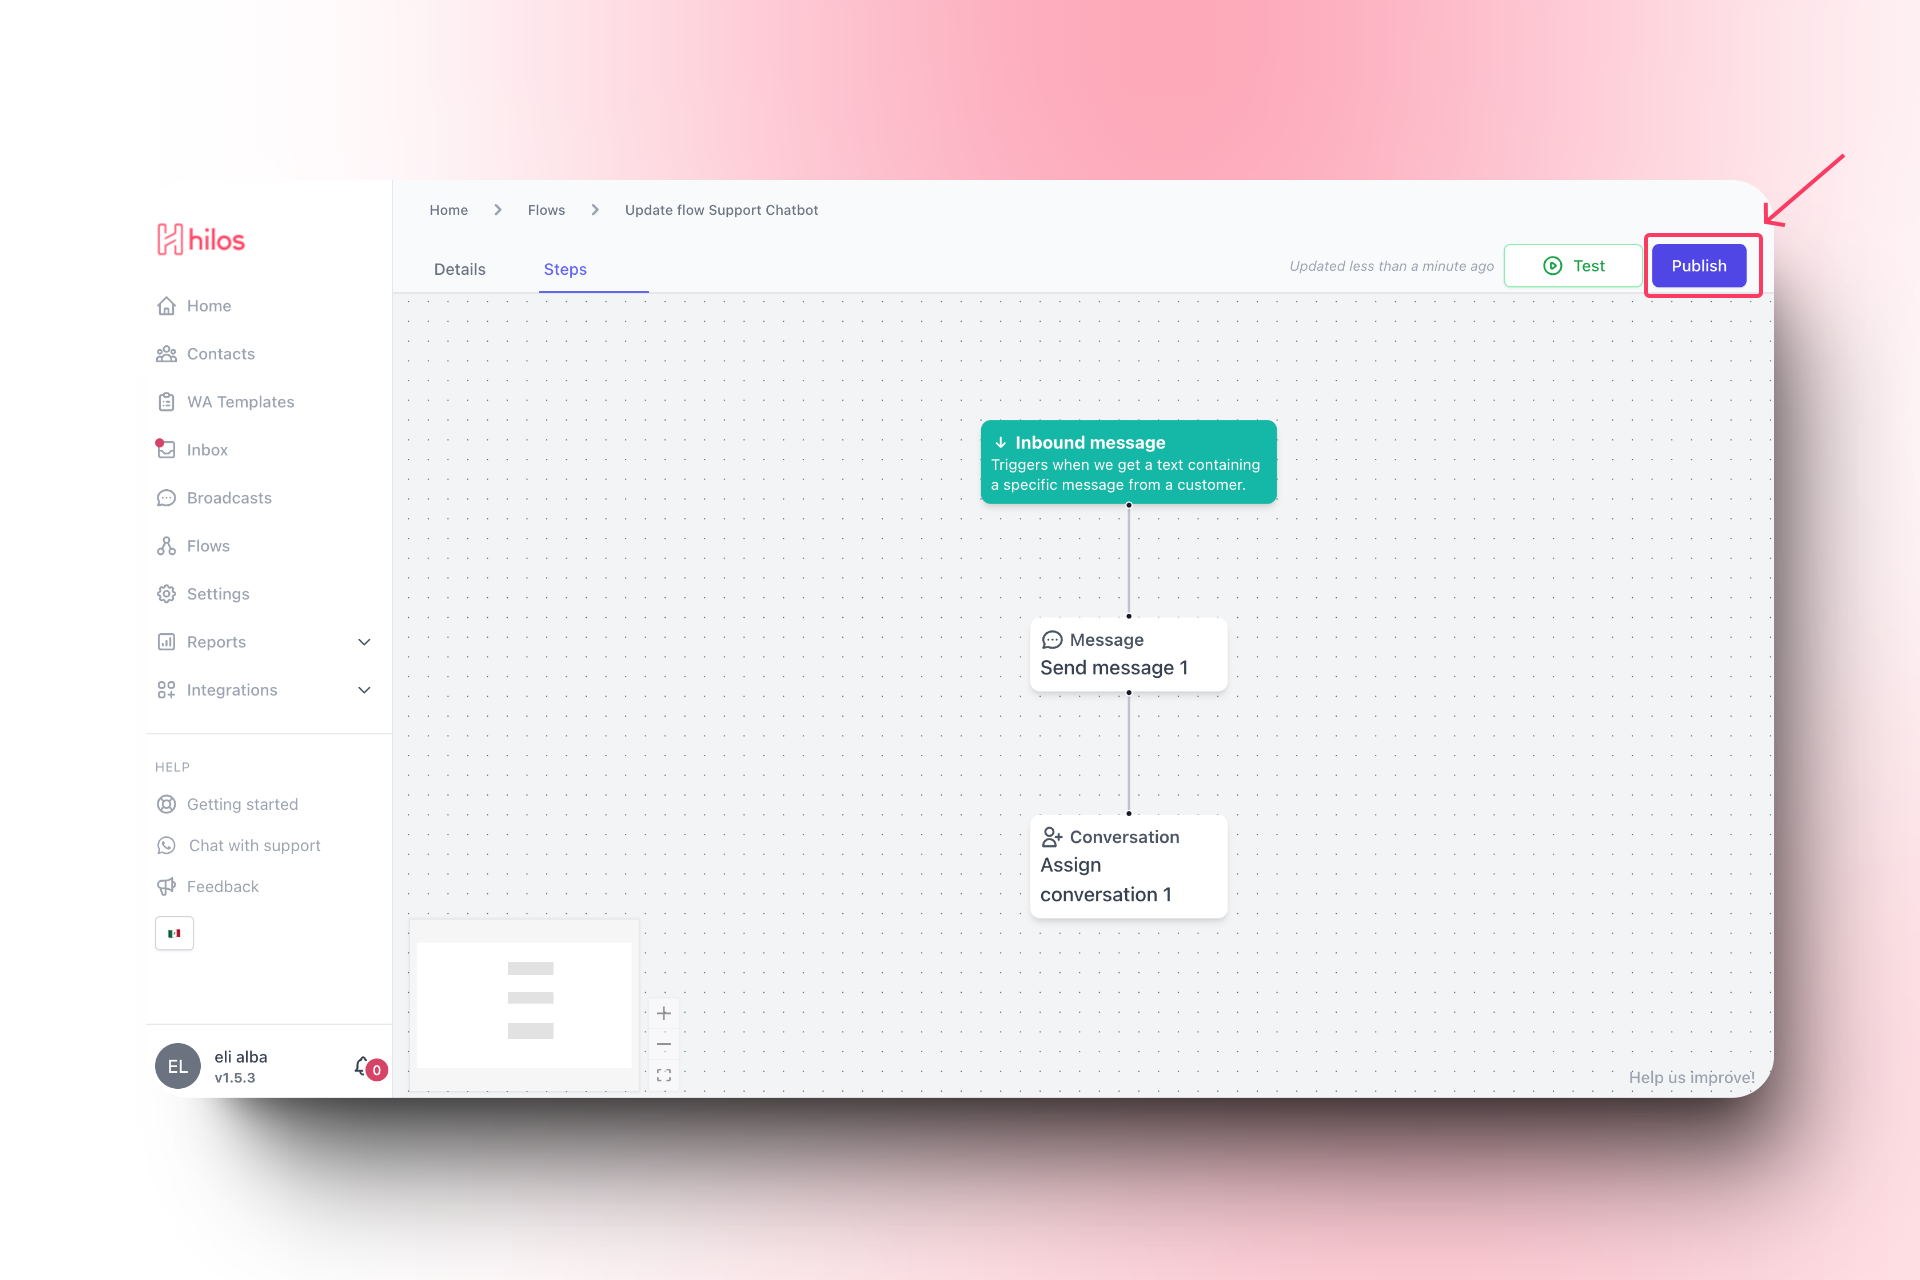
* Click on the "Publish" button to make the flow active.
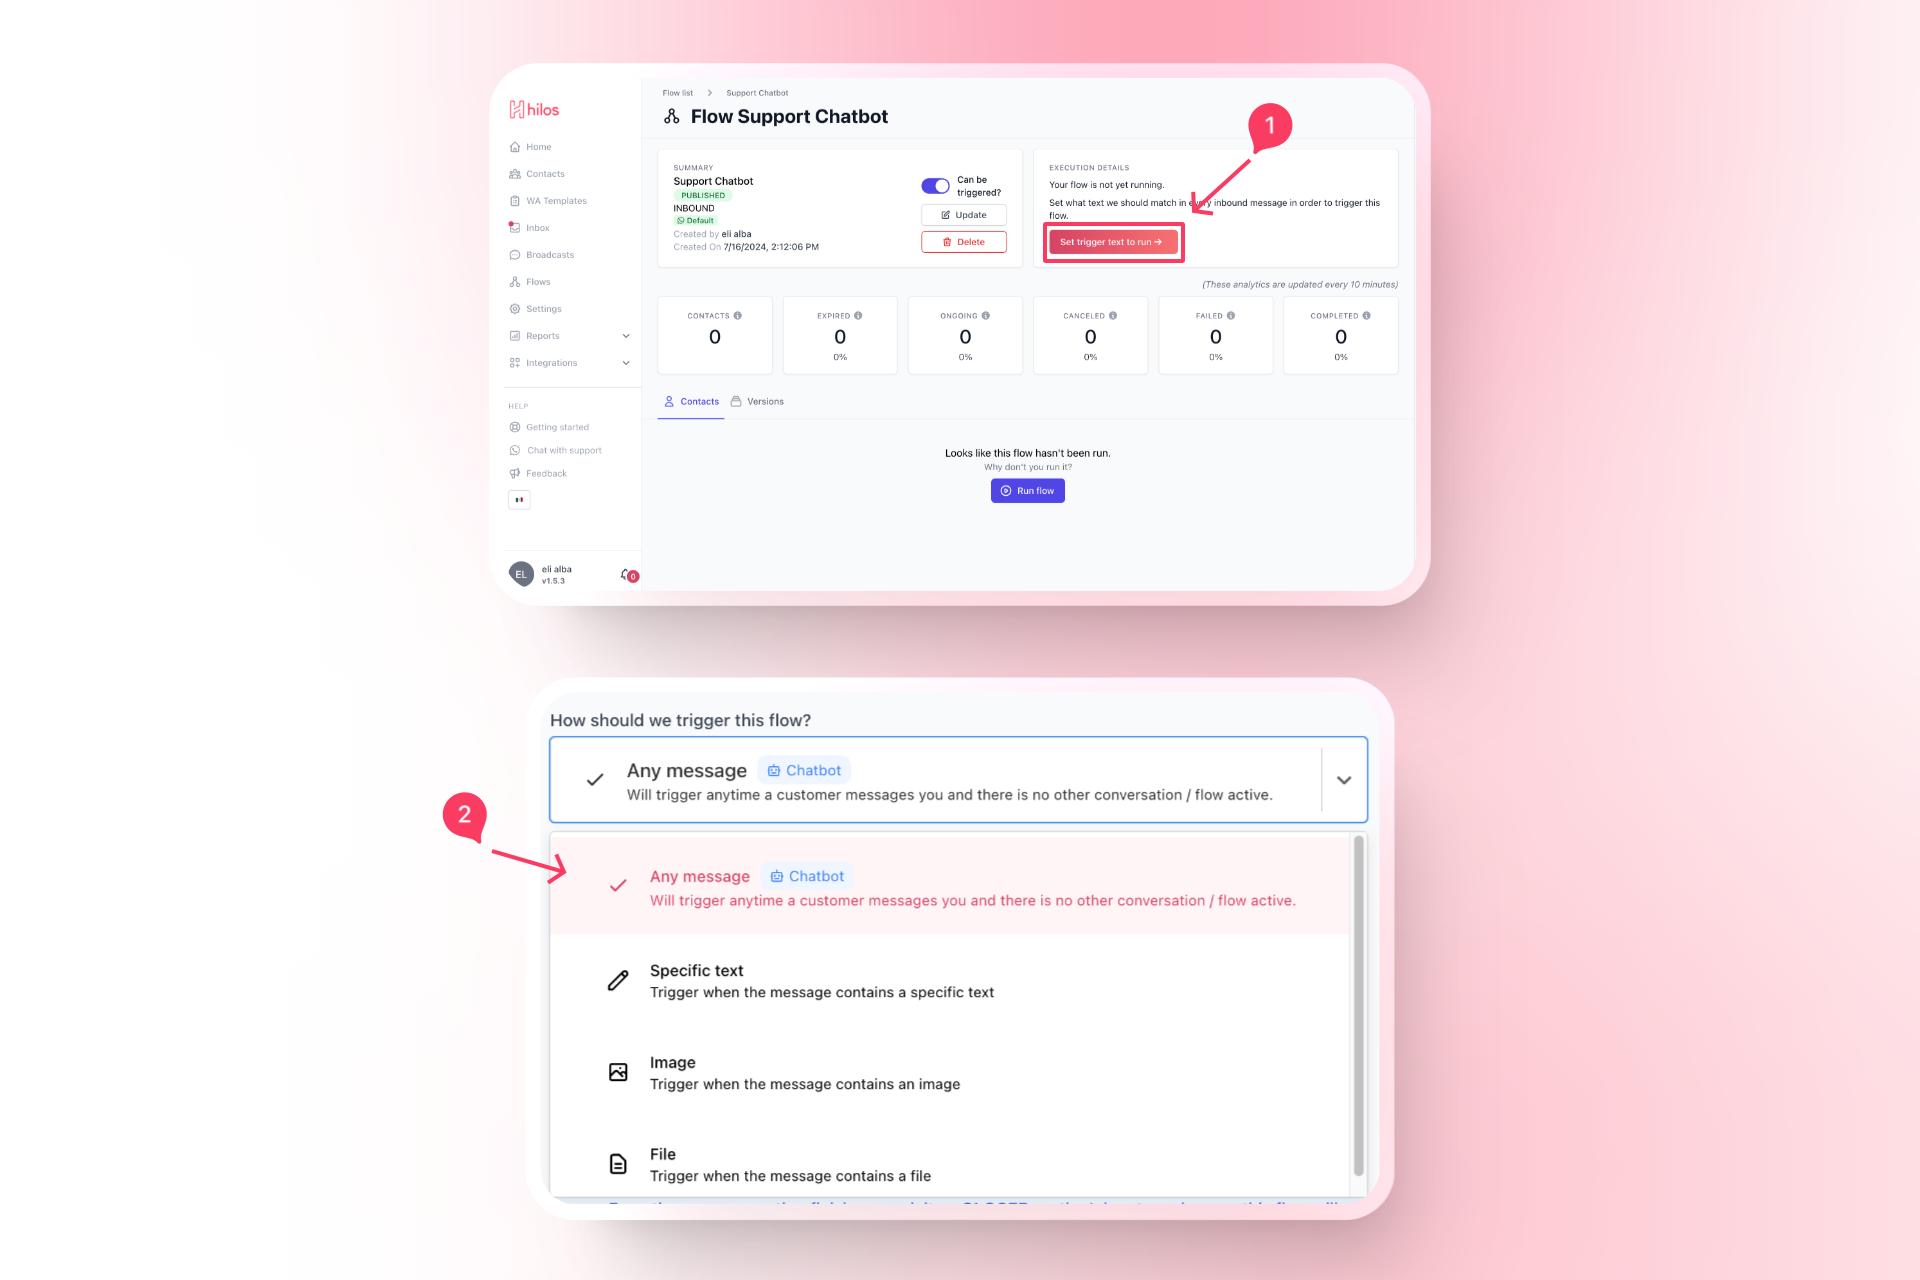
* In the flow editor, after publishing the flow you'll be asked to select a trigger. Choose "Any incoming message" as the trigger.
### Example Flow Structure
Your flow should now have the following structure:
Any incoming message.
Sends a message to the user:
Thank you for contacting Hilos. We will transfer you to one of our support agents.
Assigns the conversation to a support agent.
### Final Steps
* Send a test message to your support number to ensure the flow triggers correctly and the message is sent.
* Monitor the performance of your support chatbot and make adjustments as needed to improve response times and customer satisfaction.
In the next guide we will show you how to create a more complex chatbot that can identify recurring customers to improve the support UX.